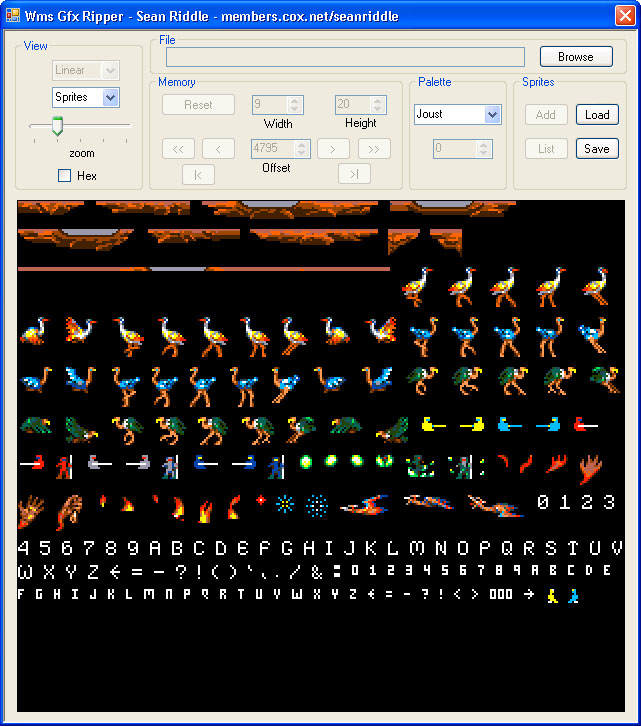
After 13 years, I figured it was time to rewrite my Williams Graphics Ripper. I used my Amiga version as a starting point, then added some new features. Basically, it lets you load a ROM image, then hunt through it looking for sprites.
One of the new features is that it lets you save a file containing the sprites. It also will display all the sprites, as shown in the picture.
Defender Sprite List Defender Sprites Pic
Stargate Sprite List Stargate Sprites Pic
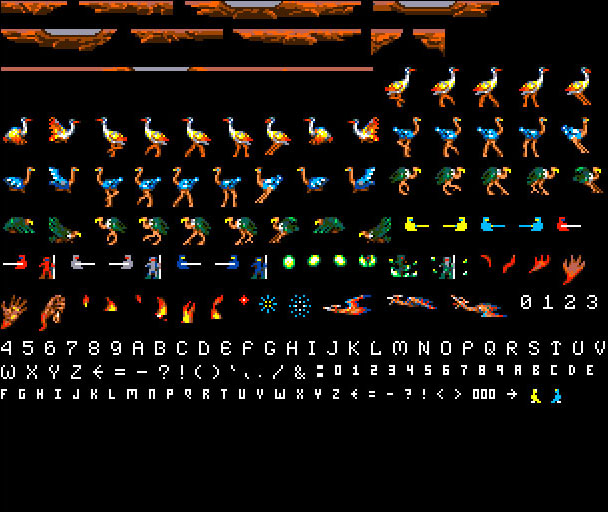
Joust Sprite List Joust Sprites Pic
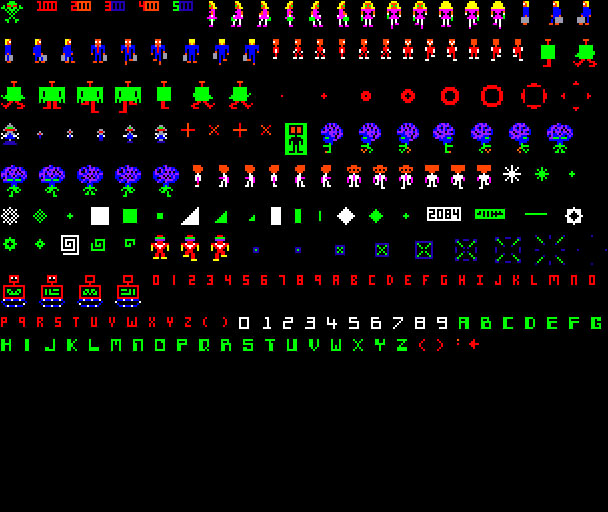
Robotron Sprite List Robotron Sprites Pic
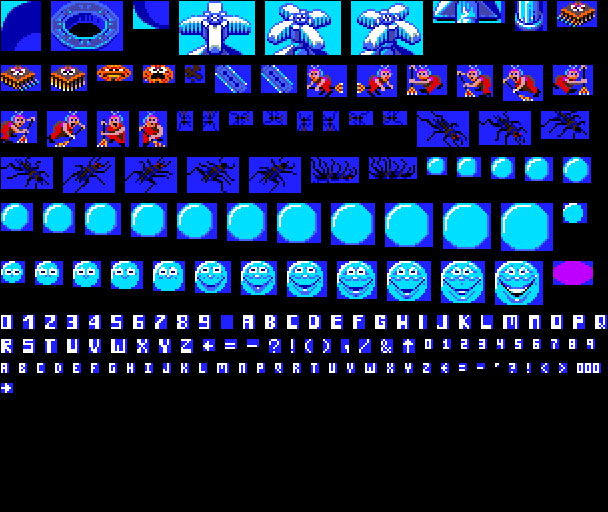
Bubbles Sprite List Bubbles Sprites Pic
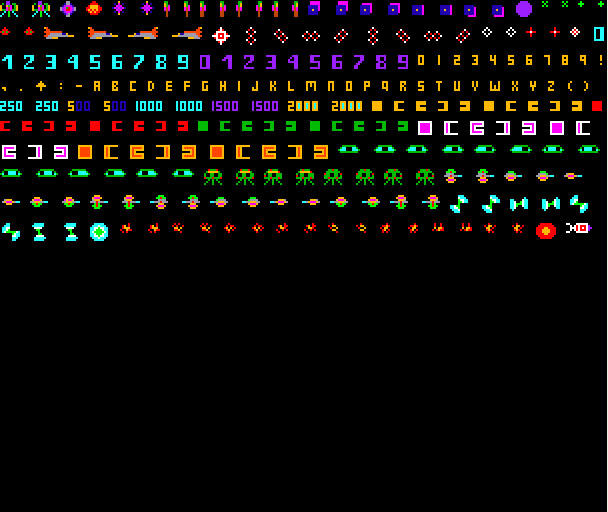
Sinistar Sprite List Sinistar Sprites Pic
Splat Sprite List Splat Sprites Pic
It's very easy to use, but some background info will help. The classic Williams video arcade games - Defender, Stargate, Robotron, Joust, Bubbles, Sinistar - all run on essentially the same platform. They can all display 304 x 256 pixels, using 16 colors at a time out of a hardware palette of 256. The horizontally- oriented games (all the games except Sinistar) display the byte at memory location $0000 in the upper left-hand corner of the screen. 4 bits are used for each pixel, so that byte displays as 2 pixels, side by side. The value of the 4 bits is used to offset into a lookup table, and the contents of that location in the table determine the color displayed for that pixel. Memory location $0001 displays as 2 pixels immediately below, $0002 is below that one, etc. The bottom left corner of the screen is memory location $00FF. Memory location $0100 displays the 3rd and 4th pixels in the top line. Note that the monitor may not display all the pixels, depending on how it is set up. Generally the top and bottom of the display are adjusted off the screen with overscan.
Defender and Stargate did not have the Special Chips, which are "blitter" chips that can move graphics around in memory without using the CPU. So the layout of sprites in those games is different from the later games. In Defender, one of the graphics for the Mutant is at location $F9FB. The sprite is 10 pixels wide (5 bytes) by 8 tall. Here are the actual hex values:
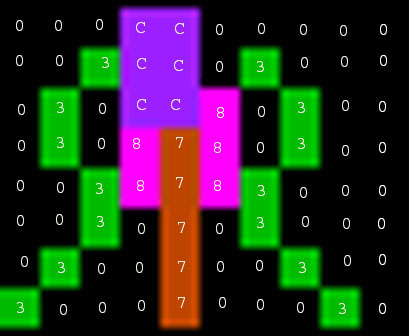
00 00 03 03 00 00 03 30 0C 3C 0C 08 38 30 00 00 C0 C0 C8 78
78 70 70 70 00 30 03 03 30 30 03 00 00 00 00 00 00 00 00 30
The "0"s above are black and the "3"s are green (but remember that the color depends on what is stored in the color table- many of the neat effects are done using color cycling, where different colors are put into the color table, making parts of the screen flash, or even look animated). Remember how the screen is set up, with $0000 in the upper left and $0001 below- so if the Mutant was drawn in the upper left corner, the first 2 pixels would be black black, then below that would be black black, then below that would be black green, etc:
Interestingly, if you look at the next 40 bytes in Defender's ROM, a nearly identical Mutant is there. In fact, most of the graphics in Defender and Stargate are duplicated, because of the way that one byte displays as 2 pixels. If they drew this Mutant at memory address $0000 then at memory address $0100, it would jump 2 pixels, instead of smoothly moving one pixel. If they wanted to move the Mutant one pixel to the right, it would be very difficult (and would slow down game play) to take the sprite data and shift it over by one dot. Notice this Mutant has a blank column of pixels on the right- his duplicate has a blank column on the left. So the game draws the first Mutant at a memory address, then draws the second Mutant at the same memory address, and it looks like the Mutant moved one pixel to the right. To keep going, they would then draw the first Mutant 256 bytes further down in memory, and it would display one more pixel to the right. (Actually, there appears to be a mistake in the 2nd Mutant- the left-most pixel wasn't moved to the right. The "twin" of the 3rd Lander also has a pixel out of place. And it's pretty neat to note that a Mutant is graphically made up of a Lander with a Human overlaid.)
All the later games have the Special Chips, which along with taking some of the burden off the CPU, also included some handy features. For instance, the Special Chips can move the sprites one pixel at a time, so no duplicate sprites have to be stored in memory. The Special Chips can also use a simplified graphics layout, where the pixels are stored row by row. In Joust, one of the Stork sprites is at $12BB. It's 18 pixels wide (9 bytes) by 20 tall. Here are the first 5 rows in hex:00 00 00 00 00 06 D3 00 00 00 00 00 00 00 01 94 C4 E0 00 00 00 00 00 09 18 00 00 00 00 00 00 00 06 D6 00 00 00 00 00 00 00 0D 10 00 00

I call this "Linear" layout, and Defender/Stargate uses "Screen" layout. In the top left of the screenshot of the ripper, in the "View" section, you can see that "Linear" layout was selected, since I was displaying the sprites from Joust. Right below that, you can see that I'm displaying "Sprites". You start off in "Memory" mode, where you search for sprites. After you have added some to the list, you can switch to "Sprites" mode, and all sprites are drawn. There is also "Palette" mode, which shows the colors being used. Below that is a zoom slider, since drawing the sprites actual size would make them very tiny. Below that is a checkbox to display the width, height and offset of a sprite in hexadecimal instead of decimal.
The browse button at the top right in the "File" section lets you select a ROM image to load. I prefer loading complete files that have been joined together from the game's individual ROM images, but you can load a single ROM image if you like.
The "Memory" section contains buttons to select a sprite's offset in memory, as well as its width and height. The buttons are ghosted in "Sprites" mode. In order to display a recognizable sprite, these 3 items have to be correct. You can work very hard disassembling the game and understanding the code to figure this out, or you can just start looking through memory until you stumble on them, which is really pretty easy. I usually start at memory location $0000 and use a starting width and height of 32. In "Linear" layout, having the wrong "Width" will scramble the sprite, kind of like horizontal hold on a TV set. You can usually tell that you are viewing a sprite, but if your viewing width is twice as large as the actual width, you will see 2 smaller versions of the sprite. Likewise, if your viewing width is 3 times as large as the actual width, you'll see 3 small versions of the sprite. As you reduce the viewing width, the sprite being displayed will distort, then become more clear, then distort again until you reach the correct width. You need to adjust the offset as you change the width to keep the sprite visible. When you get to the correct width and offset, if your height is too large, you'll see the sprite with some garbage below it. If your height is too small, you'll only see the top part of your sprite. Once you adjust the height, you're set. You can press the "Add" button in the "Sprites" section to save the info.
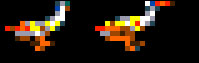 9x20 stork viewed at 18x10
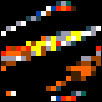 9x20 stork viewed at 10x20
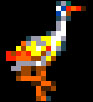 9x20 stork viewed at 9x20
 9x20 stork viewed at 8x20
The offset box has up and down buttons to move 1 byte forward or back in memory. Immediately to the left and right of the offset box are buttons that move one "line" at a time. This is done by moving "width" bytes when in "Linear" layout, or "height" bytes when in "Screen" layout. The next set of buttons out from there are "page" buttons. They move "width" times "height" bytes forward or back in memory. The buttons below are used to skip over unused parts of the ROM images. If you join the individual ROM images together, there will be blank spaces where the games don't have ROM. This will either be $00 or $FF. These buttons skip all contiguous $00 and $FF bytes to make it quicker to search for sprites.
The "Palette" section has a combo box that lets you choose one of several color palettes to display the sprites with. I pulled these color palettes out of the game code, but due to color cycling tricks, they only represent a snapshot in time of the colors, and may produce bad results. For instance, half of the colors in the Defender palette are blank, so you can miss a lot of stuff. If I can't find what I'm looking for, or if I hit an area that's all blank, I'll switch to another palette and see if anything jumps out. For Defender, I actually use the "Reset" palette. One of the settings is "From Memory". When chosen, you can enter an offset and the colors will be loaded from that offset in the ROM file.
There are four buttons in the "Sprites" section. "Add" takes the current Offset, Width, Height and Linear/Screen setting and adds that to the sprite list, after asking for a description. If you hit "Add" using an offset that's already in the list, you'll get a warning. The "List" button displays the sprite list, allowing you to delete a sprite or clear the entire list. If you double-click on a sprite, that one is displayed in the window. "Load" will load a sprite list from your hard drive, and "Save" saves the current sprite list. These lists are plain text files, with spaces used for padding to keep the description and numbers in the same columns. You can edit them with notepad, but be sure to maintain the same spacing, or the files won't work and the program might even crash.
Hints
In "Linear" layout, scan using a large height. This doesn't mess up the sprites, and you can potentially see sprites further down in memory as you vary the width. Likewise, in "Screen" layout, keep a large width. Make sure to start out in the correct layout for the game you are scanning: "Screen" for Defender and Stargate (and bootlegs based on these, such as Mayday, Colony7, etc), "Linear" for the others.
After you set up a sprite's offset, width and height and add it to the list, hit the "skip forward one page" button to skip over all the bytes for this sprite. If you are lucky, the next sprite is the same size, and it will already be displayed correctly. Sometimes there are a few bytes of data between sprites, so you may need to adjust the offset by 1 or 2 bytes. Double-check the height, if you are in "Linear" layout (or width in "Screen" layout), to make sure this one isn't slightly different. Many times a sequence of sprites are stored consecutively with the same width and height, and you can click "skip forward one page" several times and see a short animation of that sprite. If the sprite scrolls while you are clicking through the sequence, you might have the wrong height. Go back to the first sprite and change the height by one, then click through again.
Many data tables will look like they are sprites, but you are never able to turn them into anything. This can be frustrating. Also, some 1- and 2-byte wide sprites can be very hard to find. One way to locate more sprites is to take the offsets of the ones you find and search for them in the ROM image. This will probably lead you to a sprite table in the code. Then you can look at other entries in that table to find other sprites. This doesn't work well in Defender, though, since most of the ROM are bank-switched and appear in the same memory space, $C000. That means you have to look even harder to see what bank the code selects before it references the sprite.
In many of the games, there are bytes before the sprite that describe it. In Joust and Bubbles, sprites are preceded by a byte holding the width and a byte holding the height, but these values have been XORed with $04, because the Special Chip #1s on these games require that. Splat's sprites are also preceded by the width and height, but they are not XORed with $04, because the Special Chip #2s on these games didn't need that. Robotron's sprites are stored in little "animations" - several frames of the same sprite in slightly different poses, with no bytes between frames. The first frame is preceded by 4 bytes- the first 2 are width and height, not XORed with $04. The sprites in Defender and Stargate are not preceded with any info. Knowing the width and height can help when you come across a small sprite, and can't make heads or tails of it. It's sometimes very hard with a small sprite getting the right combination of offset, width and height. Knowing the height also helps for sprites that have black at the bottom, when you can't tell where the sprite actually ends. If you select view mode "Hex", it will show 0 to 8 bytes before the offset, so you can see this data. There are also buttons to load the first 2 bytes as the width and height, or to XOR them with $04 and load them as the width and height, and buttons to skip forward the product of the first 2 bytes (like skip forward page in view mode "Memory", or to skip forward the product of the first 2 bytes XORed with $04.
One helpful tip is to run "MAME -log" to produce a log file. This file will show all the blits that are done. The width and height shown have been XORed with $04. You can use this info to locate difficult-to-find sprites.
Walk-through
Source and executable
Here's the Visual C++ 2005 source
Here's the executable. You must have already installed some Visual c++ 2005 program to have the run-time libraries loaded.
Here's the full install package. If the exe won't run because you haven't already installed another Visual c++ 2005 program, get this. It's about 2 megs, and it's on my company's server.